Bench / Projects / Oak Ladder-Back Chair: A Wobbling Frame and a Rush Seat Past Saving
Oak Ladder-Back Chair: A Wobbling Frame and a Rush Seat Past Saving
A farmhouse ladder-back that had been reglued three times with white PVA, each time without taking the joints apart first. The rush was brittle enough to snap between two fingers. Six hours went on the frame, three on the seat.
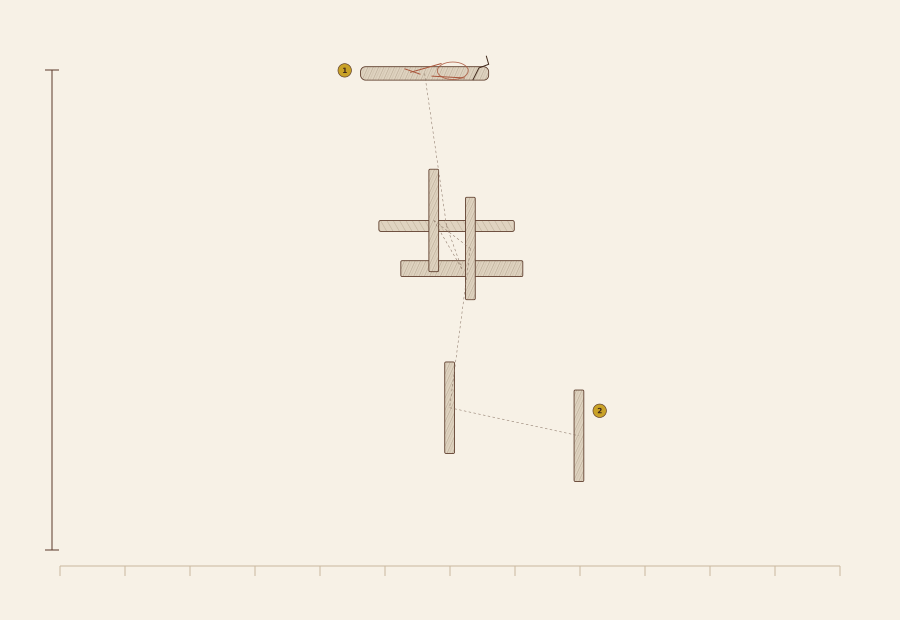
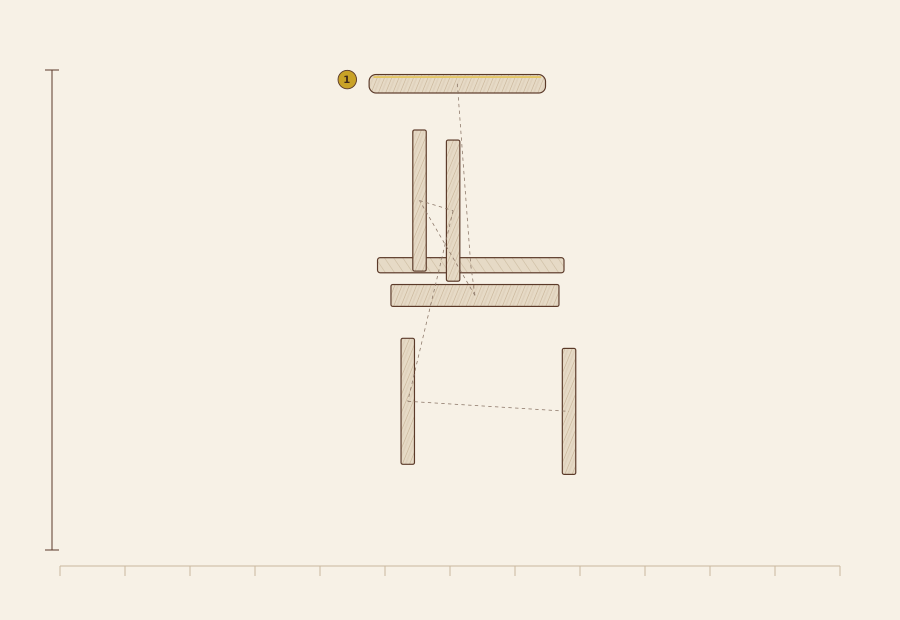 Before
After
Before
After
| Field | Value |
|---|---|
| Piece | Ladder-back dining chair with a rush seat |
| Estimated date | 1900-1925 |
| Substrate | Solid timber |
| Old finish removal | Solvent (DCM-free) |
| New finish system | Shellac / French polish |
| Coats | 4 |
| Dry between coats | 2 h |
| Bench hours | 9 h |
| Materials cost | CNY 150-210 |
What arrived
A ladder-back in oak: four back slats, turned legs, seat frame mortised into the leg posts. White PVA had been applied on the outside of every joint, which is the same as not repairing it. The joint was still loose, and now it carried a plastic film that made a fresh glue line impossible until all of it came off.
The rush seat was the deciding factor. It had been varnished at some point, and varnish makes rush brittle. It snapped clean across rather than bending. Once rush has been varnished there is no restoring it: the coating stops the fibre moving, and varnished rush that flexes cracks.
The frame itself was sound. No breaks, no replaced legs, no cracks at the seat-frame mortises, which is where ladder-backs usually fail. That made the job worth doing.
Why the joint has to come apart
A mortise-and-tenon glued without being disassembled is a joint glued to dirt. Old glue, dust, burnished wood fibres and a century of wax polish all sit between the tenon and the mortise wall. New glue bonds to the old glue layer, which is itself only weakly attached to the wood, and the joint fails again within a season of use.
The test is simple. Flex the joint by hand and watch the glue line at the shoulder. If the shoulder opens even a fraction of a millimetre, the joint is loose and has to come apart — no amount of glue injected from outside will fix it.
Bench note: Warm vinegar softens white PVA enough to scrape it out. Not boiling, not concentrated acetic acid: household vinegar at 50 °C, on a rag, ten minutes, then a blunt chisel.
Take every joint apart, dry
Eight joints: four leg-to-seat-frame, four back-post-to-seat-frame. Rubber mallet with a leather face on the inside of the leg post, chair braced against the bench, steady taps rather than a swing. Every one came apart in under a minute once the PVA was softened, which tells you how little the previous repair was actually holding.
Lay the parts out in the order they came apart and photograph the arrangement. A ladder-back reassembles in exactly one order and the back slats are not interchangeable.
Scrape the old glue out of the mortises
Blunt 12 mm chisel, worked around the mortise wall at a low angle. Slow work. The target is clean bare wood on the two long faces of the mortise and the two faces of the tenon, not a polished surface. PVA residue shows as a slightly glossy sheen — if it still catches the light, keep scraping.
Warm vinegar on a rag for the stubborn patches, then a rinse with clean water and a full 24 hours of drying before any glue goes near it. Glue on damp wood is glue on a bad substrate.
Check the tenons for compression
Joints that have been loose for decades compress the tenon. A tenon that slides into its mortise with no friction at all will not make a good joint even with fresh glue, because hide glue needs contact.
Two front tenons were 0.6 mm under size. The fix is a glue-size coat: hide glue thinned 1 part glue to 4 parts water, brushed onto the tenon and left to dry four hours. It swells the compressed fibres back out and gives the final glue something to grip. A veneer shim glued to the tenon cheek is the alternative, but sizing is reversible and shims are not.
Reassemble in one go with hide glue
Hide glue at 60 °C, 1 part granules to 1.8 parts water. A ladder-back has to be assembled wet into wet. There is no doing one joint, waiting, and coming back. Open time at 20 °C is around eight minutes for a joint of this size, so the whole chair was dry-fitted twice before the glue pot came off the heat.
Sequence: back posts, then back slats, then seat frame, then legs. Pull the frame square with the leg clamp and check the diagonals across the seat with a tape before the glue grabs. Within 2 mm is fine; more than that and the chair will rock on a flat floor forever.
Weave the new rush seat
110 m of 4 mm natural seagrass, four-corner start. Eight warp passes each way, then the diagonal weave, then the four-corner binding. Two evenings if you have done it before, three if you have not.
Keep the fibre damp while working: a sponge and a bowl of water, not a soaking bucket. Soaked rush shrinks hard as it dries and will pull the seat frame out of square. Damp rush shrinks just enough to tighten. The finished seat took 14 hours to dry and tightened by about 3 mm across the diagonals, which is what it should do.
Refresh the frame finish, and stop
The old shellac was mostly intact on the back slats and almost gone on the seat frame where hands had been for a century. Denatured alcohol on a rag, worked in circles, reflows the existing shellac and redistributes it. No stripping, no sanding of the original surface.
Where the shellac had gone entirely, four thin French-polish body coats applied with a rubber made from a cotton wad inside a linen square, a drop of linseed oil on the face. Then a final burnish with pumice and a wax block. The worn-through patches on the seat frame were left slightly darker than the rest, because a chair that has been used for a hundred years should look like it.
A record of one chair. Old finishes, hide glue and solvents all carry hazards — follow the manufacturer's data sheet and treat this page as information only.
Abrasive ladder

Grit sequence, coarsest first — each step removes the scratches of the one before.