Bench / Projects / 1960s Teak Sideboard: Sun-Fade, Silicone and a Split End Panel
1960s Teak Sideboard: Sun-Fade, Silicone and a Split End Panel
A Danish-style teak sideboard whose top had gone from warm brown to pale straw across the front two-thirds, because that is the part the window touched. The end panel had a 180 mm split, and the whole surface had been wiped with a silicone furniture polish for decades.
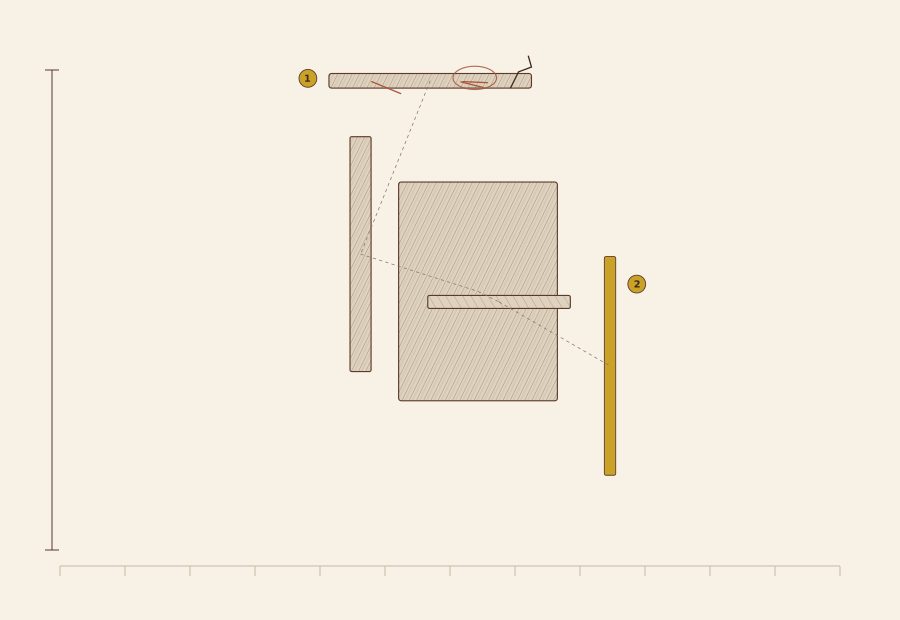
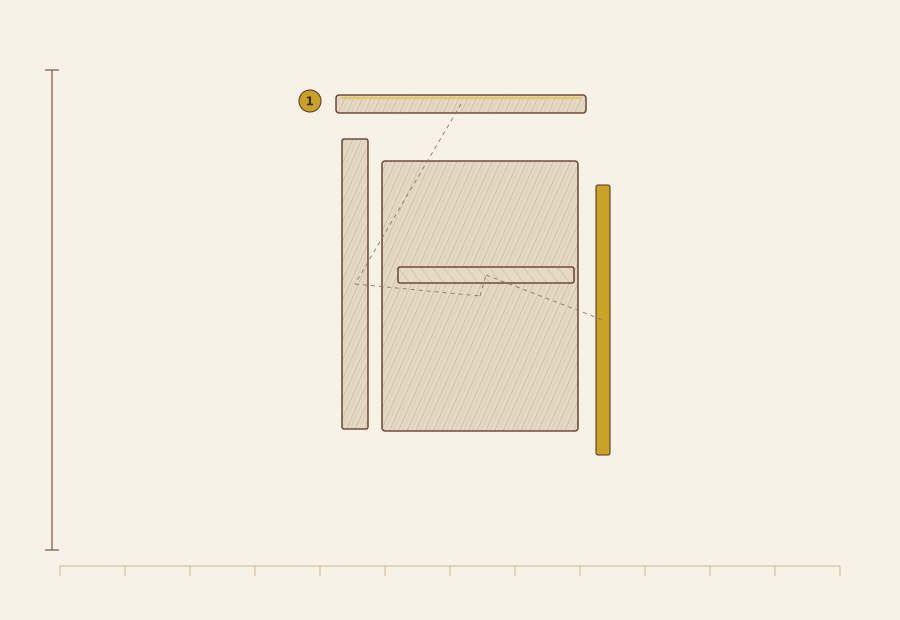 Before
After
Before
After
| Field | Value |
|---|---|
| Piece | Teak sideboard with sliding doors |
| Estimated date | 1961-1968 |
| Substrate | Veneer over ground |
| Old finish removal | Solvent (DCM-free) |
| New finish system | Hard-wax oil |
| Coats | 2 |
| Dry between coats | 8 h |
| Bench hours | 11 h |
| Materials cost | CNY 260-340 |
What arrived, and what the sunlight had done
A slide-top sideboard in teak veneer over a plywood carcass, two sliding doors with recessed brass pulls, four tapered legs with a stretcher rail. Late Danish-style mass production, early 1960s, and built well enough that the carcass needed nothing at all.
The fade was the whole problem. Teak does not fade evenly: the pigments that absorb in the blue end of the spectrum break down first, so a sun-exposed top goes pale and slightly grey while the parts under the doors keep their warm orange-brown. On this piece the fade line ran diagonally across the top, following the window, and there was a hard edge about 260 mm in from the back where the wall had shaded it.
There is a genuine argument for leaving sun-fade alone. It is not damage, it is what happened to the piece, and a teak top with a light front and a dark back is honest. What decided it here was the contrast against the end panel, which had been kept in the dark for sixty years and looked like a different timber.
Silicone is the real enemy, not the fade
Decades of silicone furniture polish leave a film that nothing will bond to. Not oil, not wax, not lacquer, not varnish. Every finish failure on a wiped-with-silicone surface comes back to the same thing: the finish sits on the silicone, the silicone sits on the wood, and the whole sandwich peels.
The field test is a drop of water on the surface. On clean raw timber it darkens the wood and spreads. On a silicone-contaminated surface it beads and sits there like water on a car bonnet.
Bench note: Silicone contamination can go 0.5 mm into the surface. Scrubbing the top does not remove it. The only reliable fix is to sand or scrape past the contaminated layer, which is why every step below starts after 0.4 mm of material has come off.
Wash off the wax layer before touching an abrasive
Denatured alcohol on clean rags, three passes, changing the rag constantly. Then a two-minute scrub with hot water and a few drops of dish detergent, then a clean water rinse, then 24 hours to dry. Abrasive paper loaded with silicone wax smears the contamination further into the grain instead of removing it, so this step cannot be skipped or shortened.
Sand past the contaminated layer
150 mm random-orbit at low speed, 120 grit to start. The test for whether you are through the silicone is the water drop again: if it beads, keep going. On this top it took until the third pass to get a surface that water would wet out on.
Then 150, 180 and stop at 220. Teak has a fine, slightly open grain and going past 220 burns it rather than polishing it, which shows up as a dull patch the moment oil goes on.
Bleach the fade line down to something even
Two-part wood bleach, A and B mixed 1 to 1 immediately before use — it has a working life of about 20 minutes and then it is dead. Applied with a nylon brush, kept wet, 12 minutes. Then a full flush with clean water and a 24-hour dry.
Do not chase perfection here. On this top the goal was to bring the light zone within a couple of shades of the dark zone, not to make them identical, because a piece that has been in a window for sixty years should not come out factory-flat. Two applications took the contrast down enough that the diagonal line stopped reading as a fault.
Cut the butterfly key into the split end panel
The split in the end panel was 180 mm long, opening to 2.5 mm at the top. A split that long will keep travelling. A butterfly key does not try to close it — it stops it.
Template, router with a 6 mm straight cutter, 12 mm deep, cleaned up with a chisel to a flat-bottomed recess. The key was cut from a teak offcut with the grain running across the short axis of the butterfly, glued in with hide glue, planed flush when dry, scraped and sanded to 220. The key was left 0.5 mm proud of the surface on purpose: a key sanded dead flush in summer will telegraph through in a dry winter.
Two coats of hard-wax oil, and no more
Hard-wax oil, applied with a lint-free cloth in a thin coat, left 20 minutes, then the excess buffed off hard. Eight hours between coats. Two coats is the whole schedule on teak. A third coat on an open-grained tropical timber gives a surface that looks varnished and feels slightly plastic, which is exactly what nobody wants on a 1960s sideboard.
The buffing matters as much as the oil. Buffing is what closes the grain and builds the sheen, and a coat left unbuffed goes tacky and collects dust for a week.
One sideboard, one workshop, one set of products. Two-part bleach damages skin and eyes — work from the manufacturer's instructions and treat this as information only.
Abrasive ladder

Grit sequence, coarsest first — each step removes the scratches of the one before.