Bench / Projects / 1950s Walnut Dresser: Lifting Veneer and a Water-Ringed Top
1950s Walnut Dresser: Lifting Veneer and a Water-Ringed Top
A five-drawer walnut dresser that had spent nine years under a leaking window. The top was ringed white, the veneer had lifted along the front edge of the carcass, and two drawer runners had swollen shut. Nine hours of the seventeen went on the veneer alone.
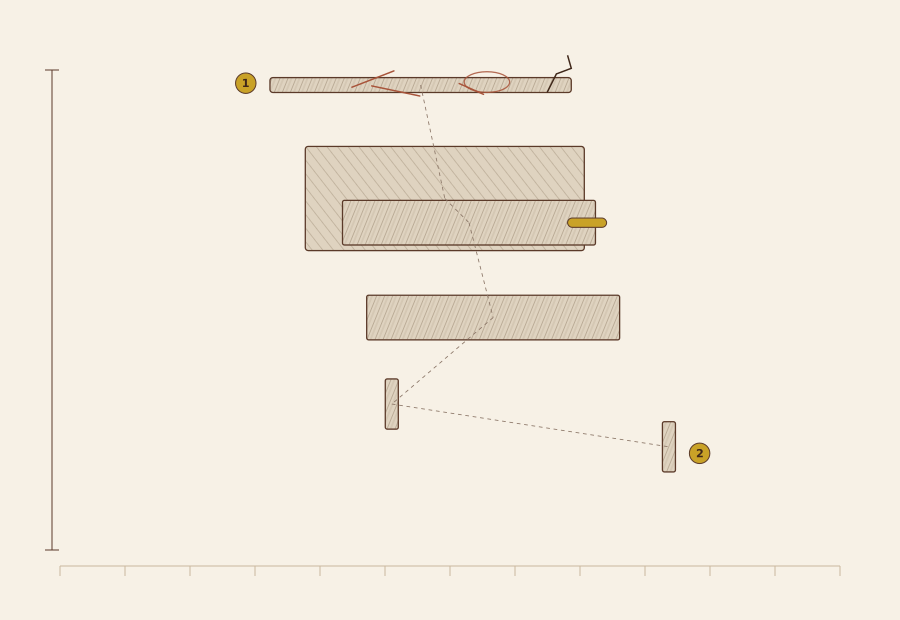
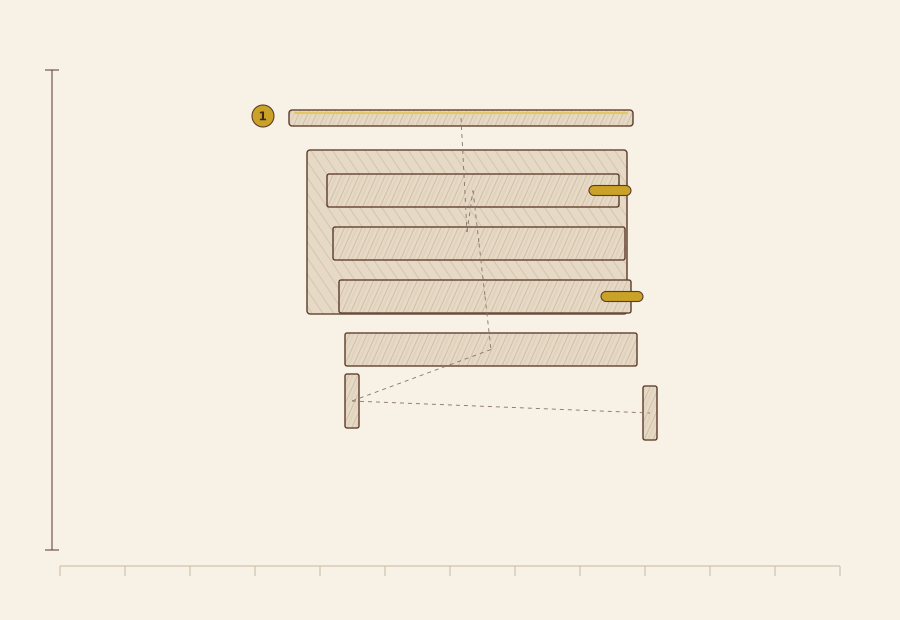 Before
After
Before
After
| Field | Value |
|---|---|
| Piece | Dresser with five drawers |
| Estimated date | 1952-1958 |
| Substrate | Solid frame, veneered panels |
| Old finish removal | Thixotropic gel |
| New finish system | Wiping varnish (oil/poly blend) |
| Coats | 3 |
| Dry between coats | 24 h |
| Bench hours | 17 h |
| Materials cost | CNY 340-420 |
What arrived, and what the nine years did
The dresser came in on its side in a van, which is how most of them arrive. Walnut veneer over a poplar and gum ground, dovetailed drawers with a machine-cut pin spacing that puts it in the mid-1950s, brass-plated pulls that had gone nearly black. Two of the five drawer bottoms had been replaced with hardboard at some point.
The top told the story. Nine years under a leaking aluminium window had left four overlapping white rings and a grey bloom across the back third. Water had got under the veneer at the front left corner and along the whole front edge of the carcass lip, and the top layer of walnut had curled up by between 2 mm and 6 mm in three separate places. Two drawers would not close past 40 mm.
The critical call was the substrate. A single drop of denatured alcohol on the inside of a drawer side softened the finish instantly, which means shellac — consistent with a 1950s factory finish and very good news. Shellac comes off with alcohol rather than with a caustic bath, and it does not fight a gel stripper the way a catalysed lacquer does.
Why the veneer lifted, and why clamping it back is not enough
Veneer lifts for one of two reasons and the fix is different for each. If the glue line has failed, the veneer is loose but flat and can be re-glued in place. If the veneer has absorbed moisture, it has physically grown across the grain and will not go back down without being flattened first. This job was mostly the second, with a bit of the first at the very corner where the ground had swollen.
A feeler gauge is the quickest way to tell. On a loose glue line the gauge slides under the veneer and stops at the glue bridge. On swollen veneer the gauge goes in 4 mm or 5 mm and then the veneer presses back against it.
Bench note: Do not sand a lifted edge flat. It removes the walnut, exposes the ground, and the veneer lifts again the first time the room gets humid.
Bench notes
- Test the old finish before choosing a stripper. One drop of alcohol on a hidden surface saves an hour of guessing.
- Photograph the dovetails and the drawer runner before anything comes apart. Reassembly questions are answered by the photographs, not by memory.
- Keep the brass pulls in a labelled jar with their screws. Six pulls, twelve screws, and one of them is always a different thread.
Strip the old shellac with gel, in two passes
Gel stripper, brushed on 3 mm thick with a cheap natural-bristle brush, left 25 minutes at 19 °C. The first pass took the shellac and most of the colour coat; the second pass at 15 minutes took the last of it out of the grain pores. Anywhere the gel starts to look dry before the timer is up gets another brush load — dry gel stops working, and dry gel is also when the solvent vapour drops off and people stop noticing they should have moved the fan.
Scrape with a card scraper held at about 15 degrees, following the grain, not against it. On veneer, a scraper is safer than a sander because it cannot cut through the top layer in a fraction of a second. Total stripping time was 3 hours 40 minutes including the gel dwell.
Neutralise and let the wood dry properly
Wipe down with denatured alcohol on clean cotton rags, changing the rag every few minutes. The rags went into a sealed metal tin, not the bin — an alcohol-soaked rag in an open bin is a fire waiting for a reason.
Then wait. The moisture content matters more here than in almost any other stage. Two days in a 21 °C room at 48 % relative humidity brought the top down to a moisture reading of 9 %, from 14 % on arrival. Veneer glued at 14 % will lift again in a dry winter; at 9 % it has somewhere to go.
Lift, clean and re-glue the loose veneer
Three lifts: a 90 mm section at the front left corner, a 210 mm run along the carcass lip, and a 40 mm blister near the back right. On each one I slid a piece of waxed paper under the veneer, then worked hide glue in with a syringe through the existing gap — no slitting unless the gap is too small, and here only the 40 mm blister needed a 12 mm slit cut with a scalpel along the grain.
Hide glue at 60 °C, mixed 1 part granules to 1.8 parts water by weight. It has an open time of a couple of minutes at this thickness, which is short, so everything was laid out before the glue pot came off the heat.
Flatten the swollen veneer before clamping
This is the step that gets skipped and it is the one that decides whether the repair holds. Veneer that has grown needs to be brought back to size, and it does that with moisture and heat, not with force.
Veneer softener on a cloth, laid over the lifted area, then a domestic iron at 60-70 °C through a cotton pressing cloth, working from the flat part towards the lifted edge. A few passes and the curl relaxes enough to lie down under light finger pressure. Check it with a feeler gauge: the target is under 0.1 mm of gap before any clamp goes on.
Clamp with cauls and leave it 24 hours
Aluminium caul plates, waxed paper between caul and veneer, F-clamps every 75 mm along the glue line. Clamp pressure is finger-tight plus a quarter turn — veneer dents under anything more, and a dent in walnut veneer is permanent.
Twenty-four hours in the clamps at 20 °C. Hide glue grabs fast but reaches full strength slowly, and pulling clamps at four hours is how a repair comes back to the bench in March. Excess squeeze-out came off with a warm damp cloth and a blunt chisel.
Treat the water rings with oxalic acid
Oxalic acid, roughly 100 g to 1 L of warm water, applied with a nylon brush to the ringed area only. It works on the grey bloom and the iron staining from the window frame and does very little for the deep black rings, which are a chemical change in the tannins rather than a stain sitting on the surface.
Three applications at 20 minutes each, then a thorough flush with clean water and a neutralising wipe with borax solution. Left overnight to dry. Two of the four rings went completely; one went to a faint shadow; the fourth stayed visible and became part of the piece's history rather than a defect to hide. Oxalic acid is toxic and it will burn skin — gloves, goggles, and no aluminium containers anywhere near it.
Sand through the grit ladder, then finish
80 grit with the random-orbit on the carcass sides only to take out the remaining scrape marks, then 120, 150, 180. It stops at 220 on the top and never goes finer, because wiping varnish needs a tooth to hold on to and a 320-grit surface on walnut gives a finish that looks thin. The detail sander with a 60 mm triangular pad did the inside corners of the drawer openings, which the 125 mm orbit cannot reach.
Three coats of wiping varnish, applied with a cotton rag in thin passes, 24 hours apart, a light 320-grit scuff between coats. First coat thinned 20 % with mineral spirits so it soaks rather than films. Final coat left alone for a week before the drawers went back in. The drawer runners got a rub of paraffin wax rather than any finish at all — finished runners bind in humid weather, waxed ones do not.
This is a record of one job, not instruction. Strippers, oxalic acid and solvent finishes are hazardous — work from the manufacturer's safety data sheet and your local disposal rules, and treat anything here as information only.
Abrasive ladder

Grit sequence, coarsest first — each step removes the scratches of the one before.