Bench / Repair notes / Repair Note: A Loose Mortise and Tenon That Keeps Coming Back
Repair Note: A Loose Mortise and Tenon That Keeps Coming Back
The same chair joint reglued three times will fail a fourth unless something changes. This note covers the four reasons a mortise and tenon keeps loosening and what to do about each one, in the order you should check them.
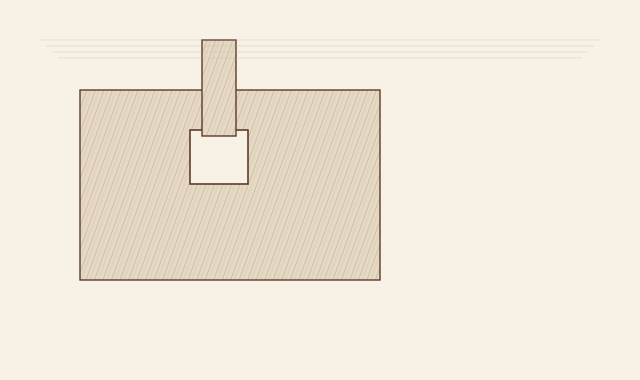
Why regluing keeps failing
There are four reasons a mortise and tenon loosens, and they need four different fixes. Regluing without identifying which one you have is why a chair comes back to the bench every two years.
The first is a failed glue line: the joint is loose but the parts are the right size. Clean it out and reglue and it holds. This is the only case where regluing alone works.
The second is a compressed tenon. Decades of movement squash the tenon so it no longer touches the mortise wall. Glue in a gap does nothing; hide glue needs contact to form a bond at all.
The third is an ovalised mortise. The mortise has worn wider at the top and bottom where the tenon rocked. You can fill the tenon all you like and it will still rock.
The fourth is a split in the mortise cheek. Often invisible until the joint is under load. No amount of glue will close a split that reopens every time someone leans back.
Bench note: Test order matters. Check for a split first, because if there is one nothing else you do will hold. Then check the fit, then the glue line, and only then get the glue pot out.
Check the mortise cheek for a split before anything else
Wipe the joint down with alcohol and look at it under a raking light from both sides. A split cheek shows as a hairline that opens when the joint is flexed by hand. On this chair there was one, 22 mm long, starting at the top of the mortise on the outside face.
A short split at the end of a mortise is repairable: work hide glue into it with a feeler-gauge-thin shim, clamp across the cheek with a caul, leave 12 hours, and then cross-pin the cheek with an 8 mm dowel drilled through perpendicular to the split, glue in the dowel, cut it flush. A split running the full length of the mortise means the leg needs a new section scarfed in, which is a different job.
Measure the tenon against the mortise properly
Feeler gauges, not fingers. Insert the tenon dry and work a gauge into each of the four faces in turn. Under 0.2 mm of gap is fine, hide glue will bridge it. Over 0.4 mm and the joint needs sizing or shimming before glue.
On this chair the two long faces were tight and both short faces were 0.5 mm open, which tells you the rocking has been front to back. That is the pattern you get from a chair being leaned back on, and it is why the top of the mortise was ovalised.
Size the compressed faces, do not shim them yet
Glue sizing first: hide glue thinned 1 part to 4 parts water, brushed onto the two loose faces, left to dry four hours. It swells the compressed fibres back out and it is reversible — warm water takes it off again.
Re-measure after sizing. On this joint the gap went from 0.5 mm to 0.15 mm, which is inside the range hide glue will bridge on its own. Shimming was not needed. If it had still been over 0.3 mm, a 0.6 mm veneer shim glued to the tenon cheek with the grain running the same way as the cheek would have been the next step.
Clear the mortise back to wood and check it is not oval
12 mm chisel, low angle, scraping the mortise walls back to bare wood. Old glue, compacted dust and congealed wax all come out. Then check the mortise for ovality by inserting the tenon and rocking it by hand while watching the shoulder: shoulder movement more than 0.3 mm means the mortise has worn.
If it has, the fix is to glue a veneer patch to the inside of the mortise wall at the worn end rather than to build up the tenon. Patching the mortise keeps the tenon original, which matters if the piece is ever looked at by someone who cares about such things.
Glue, draw-bore and clamp in the right order
Hide glue at 60 °C, 1 part granules to 1.8 parts water, brushed on both the tenon and the mortise walls. Assemble, wipe the squeeze-out with a warm damp cloth, then clamp across the joint with a shaped caul, not a flat one — a flat caul on a turned leg puts all the pressure on one line and dents it.
If the original joint was draw-bored, re-drill through the existing hole and peg it with a slightly tapered dowel driven from the outside. A draw-bored joint is mechanically locked, not just glued, and on a chair that is the difference between a repair that holds and one that come back.
Leave the clamps 12 hours. Hide glue grabs in minutes but reaches full strength slowly, and a chair that goes back into service after four hours is a chair that comes back in a year.
One chair, one set of joints. Structural repairs on a piece you intend to sit on carry a real risk of failure — this is a record, not instruction, and information only.