Bench / Projects / Gilded Console: Spot Repairing Water Gilding Without Regilding the Whole Frame
Gilded Console: Spot Repairing Water Gilding Without Regilding the Whole Frame
Nine-tenths of the gilding on this console was intact and worth keeping. Regilding the whole frame would have taken a genuinely old surface and made it new. This job was about repairing the tenth, and about knowing the difference between dirt and lost gold.
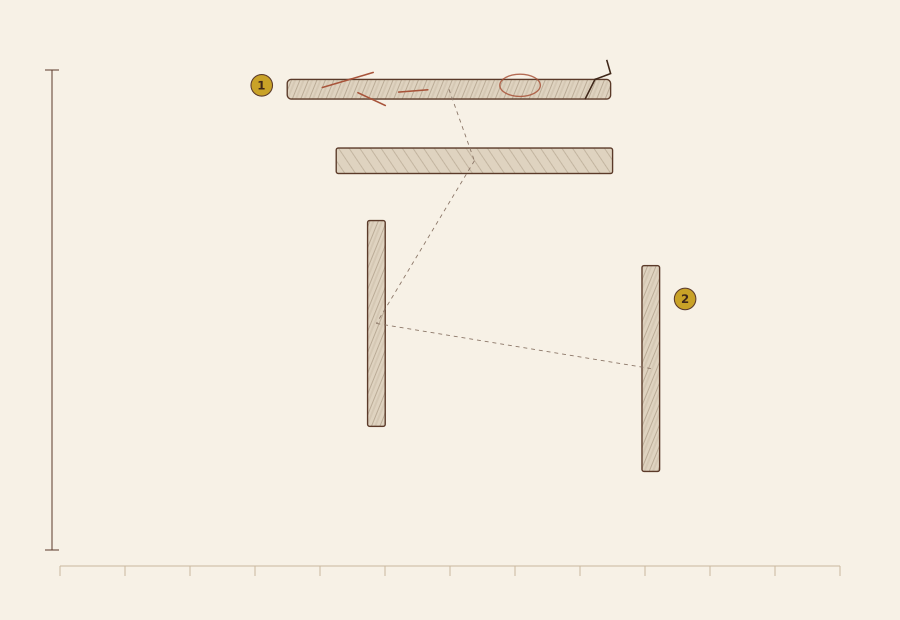
 Before
After
| Field | Value |
|---|---|
| Piece | Gilded console table with a marble top |
| Estimated date | 1810-1840 |
| Substrate | Solid timber |
| Old finish removal | Mild soap wash, no stripping |
| New finish system | None — cleaned only |
| Dry between coats | 24 h |
| Bench hours | 20 h |
| Materials cost | CNY 600-900 |
Water gilding and oil gilding are different, and the difference decides the repair
Oil gilding is gold leaf laid onto a sized surface. It is a decorative coating, it sits on top of the wood, and it can be repaired by any patient person with a book of leaf and a brush.
Water gilding is a build: a rabbit-skin glue size, then several coats of gesso, then several coats of bole, then the leaf laid onto a dampened surface and burnished with an agate until it is continuous and reflective. It looks like solid metal because it is burnished into continuity. It cannot be spot-repaired with oil gilding technique, and the repairs have to follow the same layering.
This console was water-gilded. That single fact ruled out most of the quick options.
Where the loss was, and where it was not
Under raking light the frame read as: intact gold on about 90 % of the surface, with three bands of loss. The top rail above the legs had lost its gold along a 200 mm stretch, showing the red bole underneath. The two front leg blocks had lost gold and bole together, right down to grey gesso. And there was a 30 mm patch on the apron where the gold had gone but the bole was intact.
The rest of the frame was dirty, not damaged. Half a century of London soot and furniture polish had settled in the recesses of the carving and darkened the gold. That is dirt, and dirt comes off.
Bench note: The single most destructive thing done to gilded furniture is cleaning it with anything containing ammonia or alcohol. Both strip gold leaf in seconds. Water, a soft brush and patience are the whole toolkit.
What the frame got: cleaned, not regilded
Cotton wool, barely damp, rolled over the carving rather than wiped across it. Rolled, because a wiping motion catches an edge and lifts a flake of gold. Sixty cotton balls over four sessions, changed as soon as each one showed grey.
Then a dry soft brush to lift what the cotton had loosened out of the recesses, and a final wipe with a dry cotton ball. Nothing else. The gold came back up to a warm, bright tone and the carving recovered its depth, and none of that required any new leaf.
Match the bole before you match the gold
The gold on this frame is not one colour. It varies from a warm orange-gold on the flat mouldings to a cooler, greener gold in the recesses, and that variation comes from the bole underneath showing through. Bole is a clay, red or yellow, and the gold is thin enough that the bole determines the final tone.
So the first step was colour matching the bole: red bole on the leg blocks, a mix of red and yellow on the top rail, and the mix tested on a scrap of gesso panel and held against the frame in daylight before a drop went anywhere near the original.
Build the gesso back up in thin layers, not one thick one
The leg blocks had lost gesso down to the wood. Gesso is whiting in rabbit-skin glue, and it has to go back on in 5 to 8 thin coats, each one drying before the next, each one sanded lightly with 400 paper on a block.
One thick coat cracks as it dries. It also sits proud and has to be sanded back, and sanding back a gesso build is where the crispness of the carving gets lost. Thin coats keep the carving's edges and only need a light pass at the end.
Lay the bole, then burnish it before the gold goes on
Three coats of bole over the new gesso, brushed on with a sable, drying between each. Then burnished with an agate where the surface is meant to be bright.
The bole is what the gold adheres to and it is what gives the gold its depth. Skipping the burnishing of the bole and burnishing only the gold produces a flat, dead result — the brightness of water gilding comes from both layers being smooth.
Lay the leaf onto a damp surface, in small pieces
Gilder's liquor — water with a trace of rabbit-skin glue — brushed onto a small area, about 50 mm square. Leaf picked up on the tip brush, laid onto the damp surface, pressed down with cotton wool. The water in the liquor activates the glue in the bole and pulls the leaf into contact.
Small areas, because the window between "damp enough to grab" and "too dry to grab" is about two minutes, and a large area will be dry at one end before you reach the other. On a carved surface, leaf goes on in pieces no bigger than a fingernail.
Burnish the new work, and leave the old gold alone
The new leaf burnished with an agate where the surface is flat. The old gold was not burnished, not touched with an agate, not even dusted hard. Burnishing old gold lifts it off the bole in flakes, and the flakes take the surrounding gold with them.
The new work will be brighter than the surrounding gold for a year or two. That is correct and it is not something to fix. A gilded frame with its history visible is worth more than one that has been evened out.
Wax the whole frame, thinly, and stop
Renaissance wax, a thin film, buffed after 15 minutes with a soft brush rather than a cloth — a brush gets into the carving without dragging on the leaf. This is the only protective layer that should ever go on a water-gilded surface.
Then stop. No lacquer, no clear coat, no varnish. Every film finish on gilding eventually fails, and when it fails it takes the gold with it as it lifts.
Water gilding on a piece of this age is conservation work. This record describes a minimal intervention on a low-value frame; a piece with provenance should go to a professional conservator. Information only.
Abrasive ladder

Grit sequence, coarsest first — each step removes the scratches of the one before.